
We started this section with good composition—filling the entire frame with just those elements that bring balance to a photo. We talked about light, and about paying homage to what you see in a garden. A good photo will do all this and then tell a story, state an opinion, communicate what you really saw. In the opening photo, above, I saw the fine-leaved grasses flowing around the bolder leaves of the phormium. I saw these two companions celebrating each other. The yin-yang of spikes and billowing grass clearly demonstrates how grasses add softness, bulk, and movement to a garden, and how spikes add structure. I saw that right away when I photographed the full border. 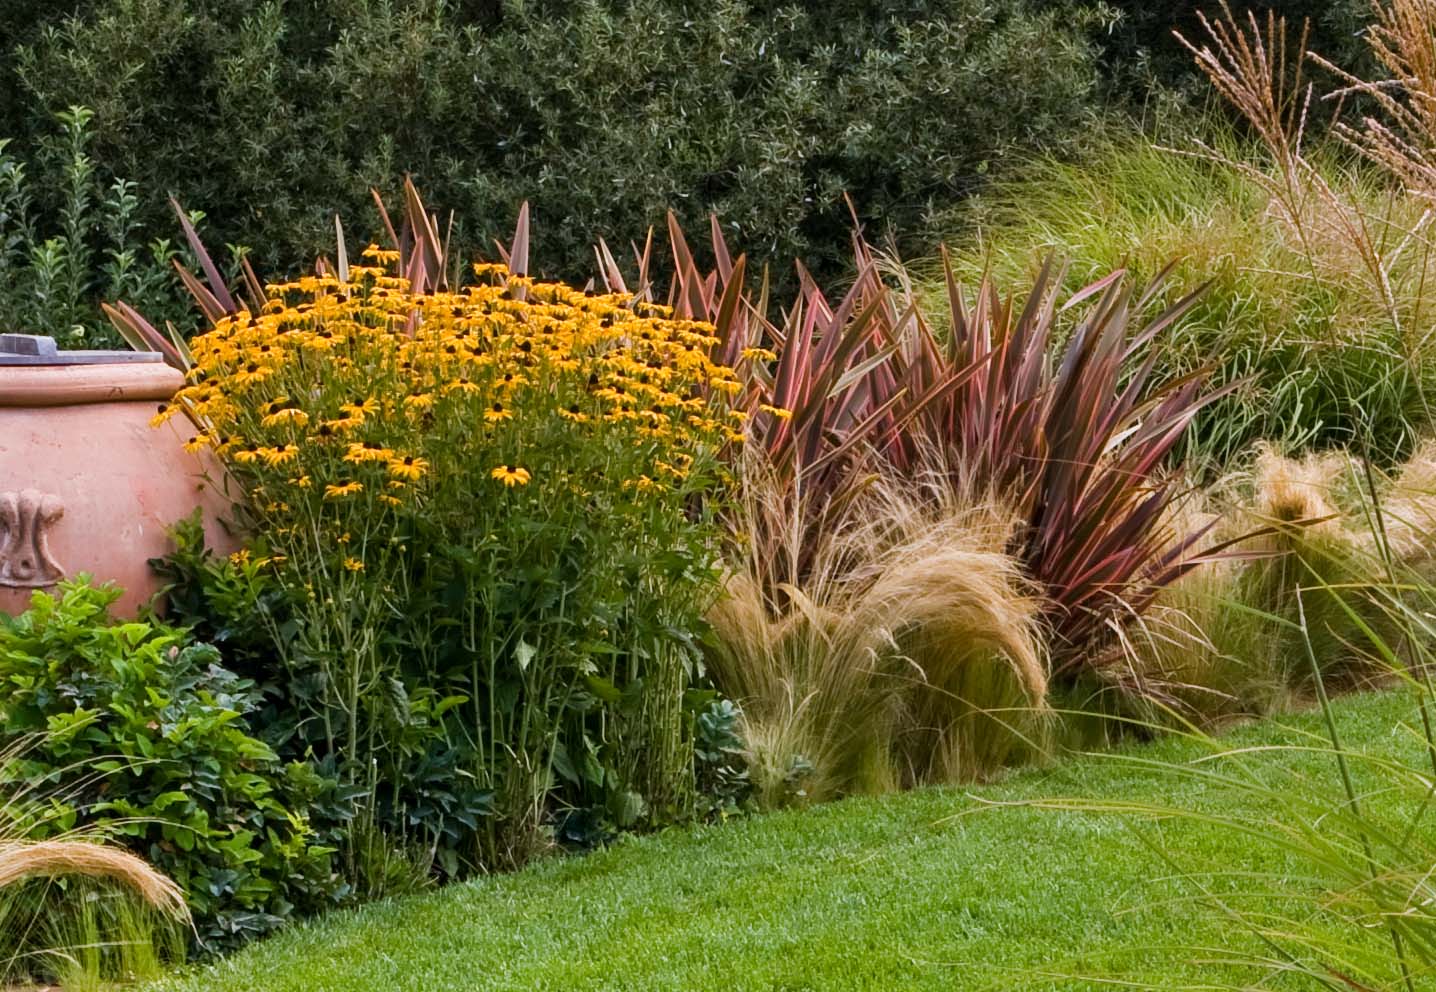
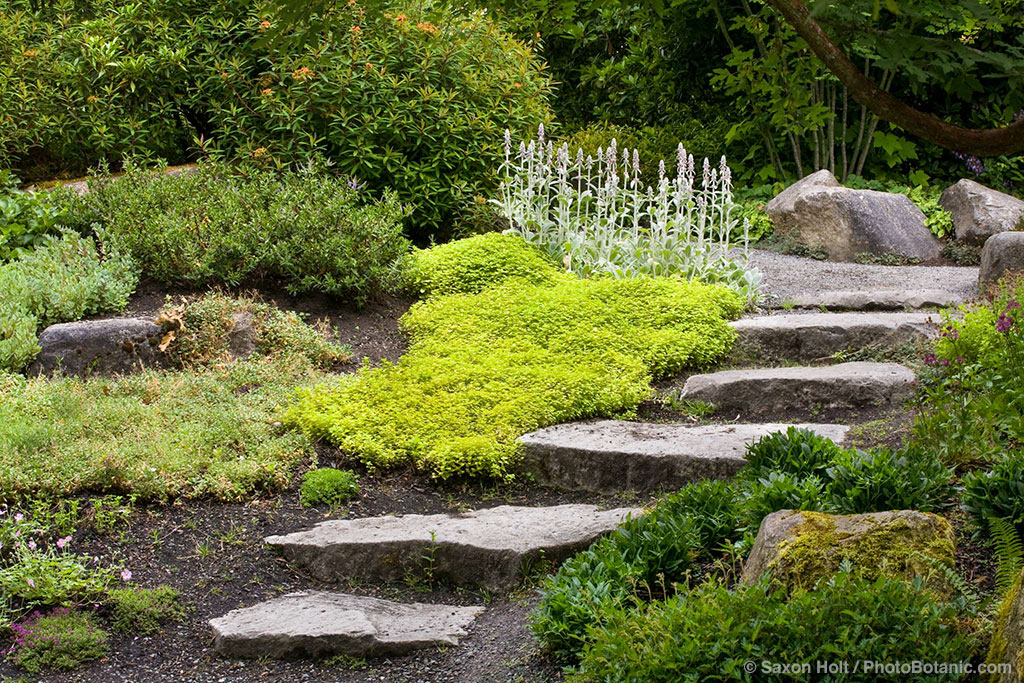
Here is another sequence we saw in Lesson 1, Fill the Frame where the lesson was filling every part of the frame with the most important elements “of your story.”
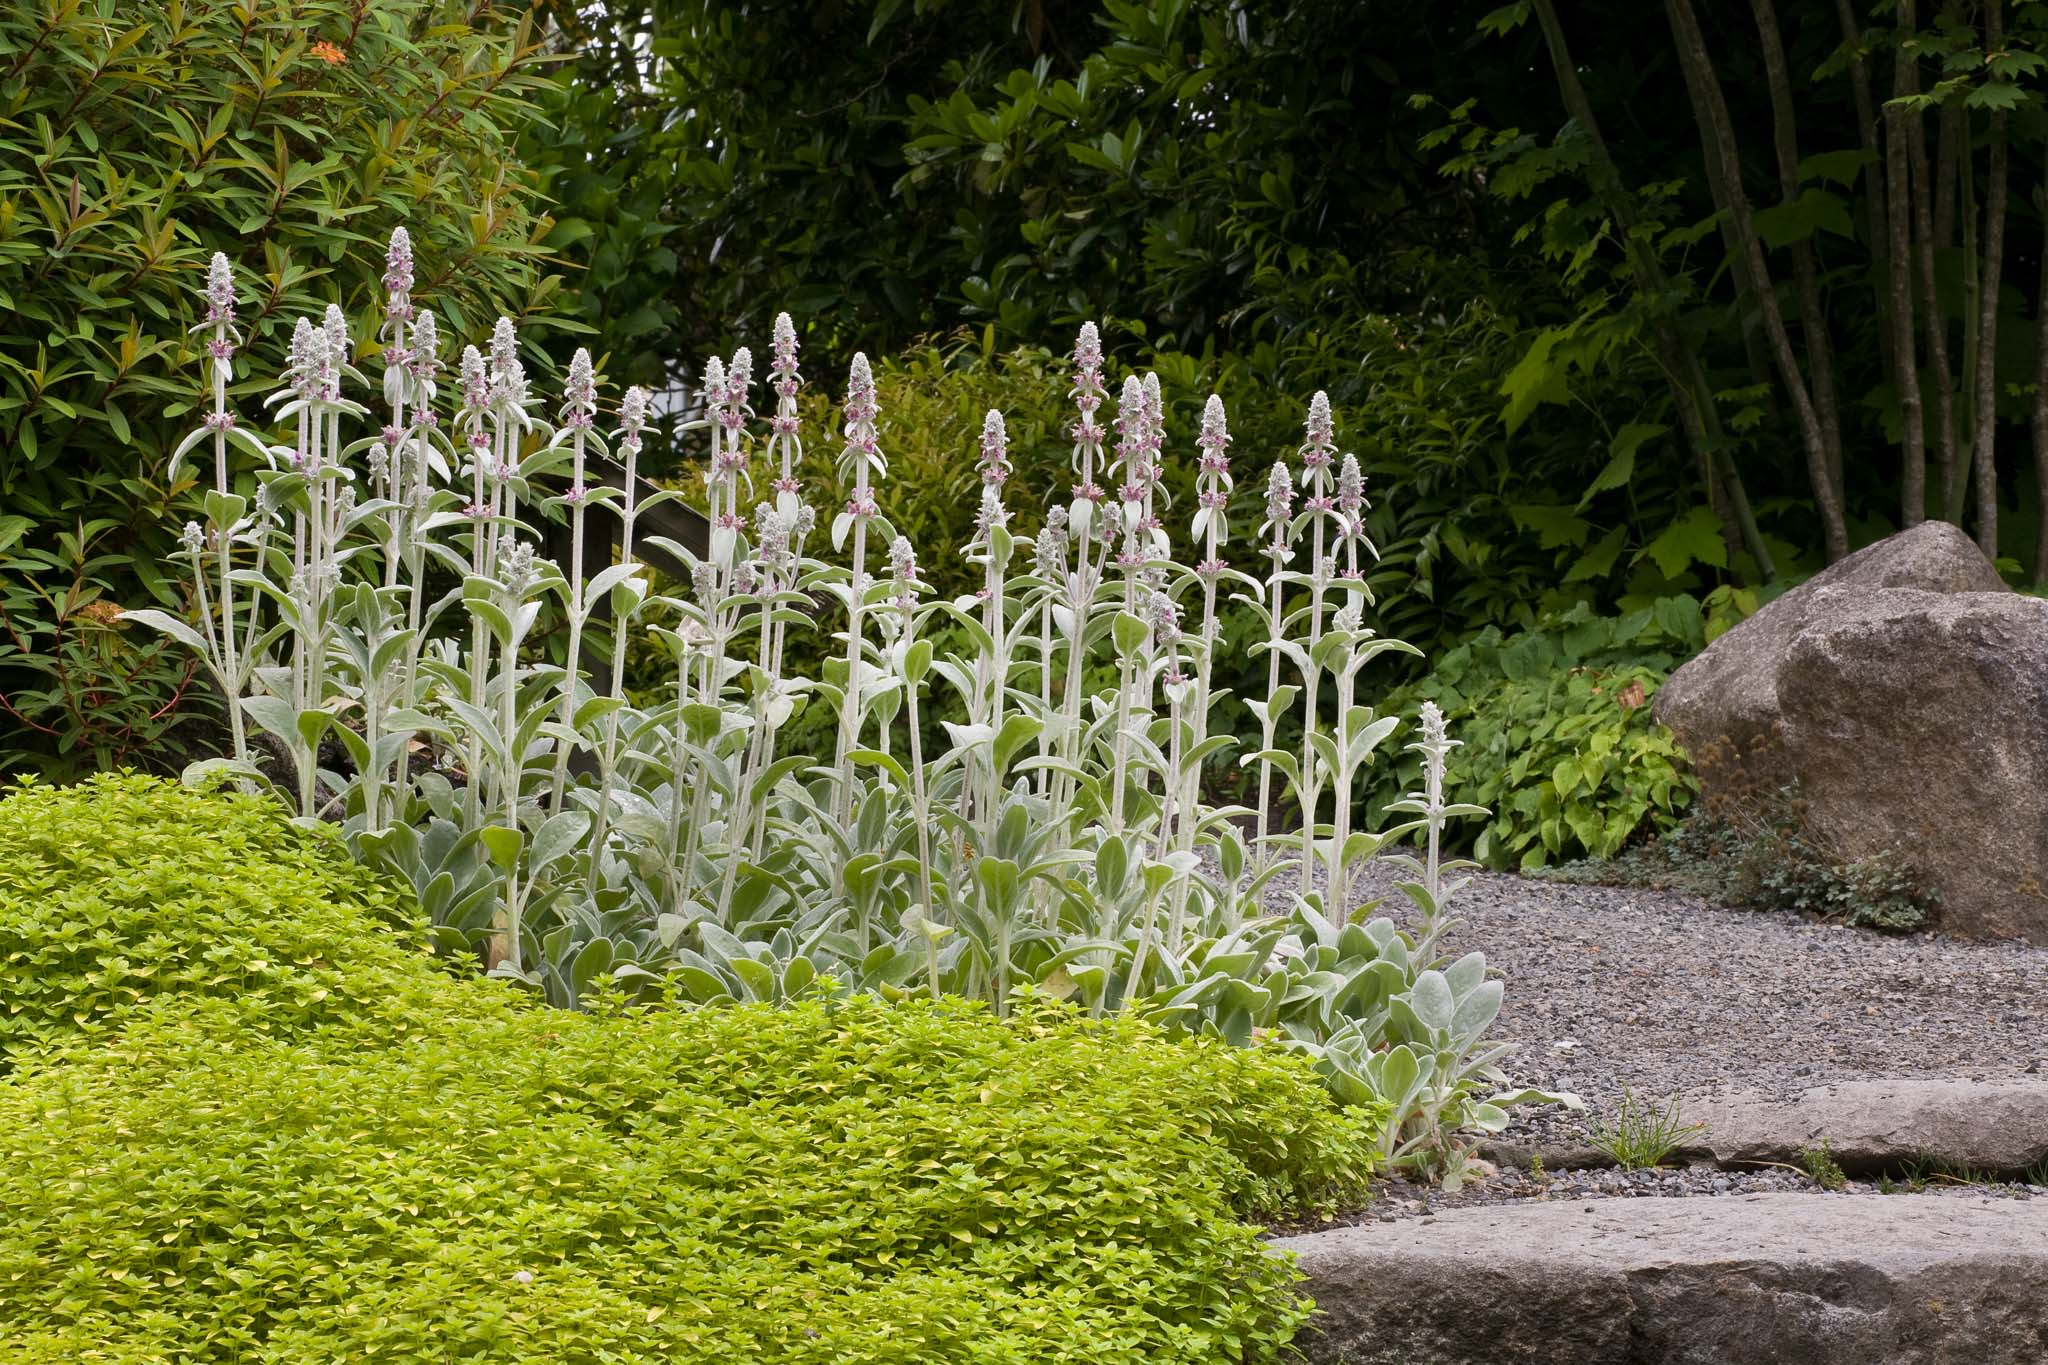
I worked the scene until I got to a tighter composition. The two stories of a stepping stone path and groundcovers did not make one good picture. The wide view of a stepping stone path is not a bad picture, but all the empty ground and wasted space keep it from being a good one.
Moving in for a closer view will clarify the story of ground covers, showing them in a garden context with the path, making a much stronger photo.
You will find more in the original post “Working the Scene.” Often, you will have to work your way into that one image that distills your message. One photo will lead to a better one. If you are struck by a new scene, start making pictures right away, while the experience is new and the excitement is fresh. Don’t just click the shutter and grab a photo, but do get to work. As the light changes, try another composition. Then make another.
The more you look, carefully and thoughtfully, the sooner you will find your story. Work the scene: get closer or back up to frame it through the camera, or go around the subject and look at it from a different viewpoint. Always keep your initial excitement at the front of your thoughts. Explore. Ask yourself, what am I really seeing?
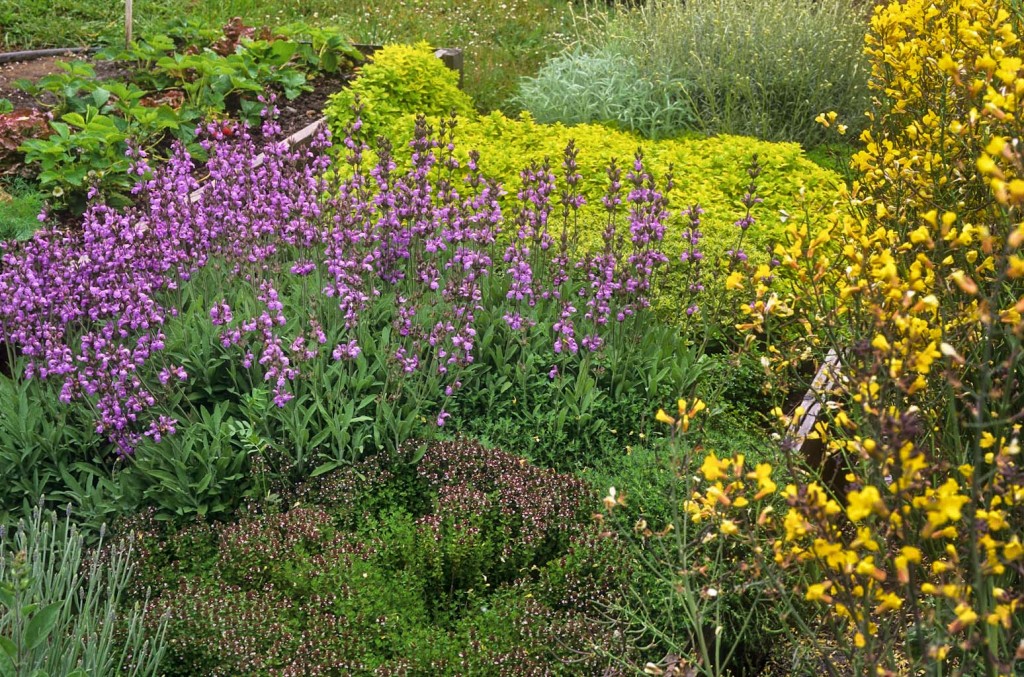
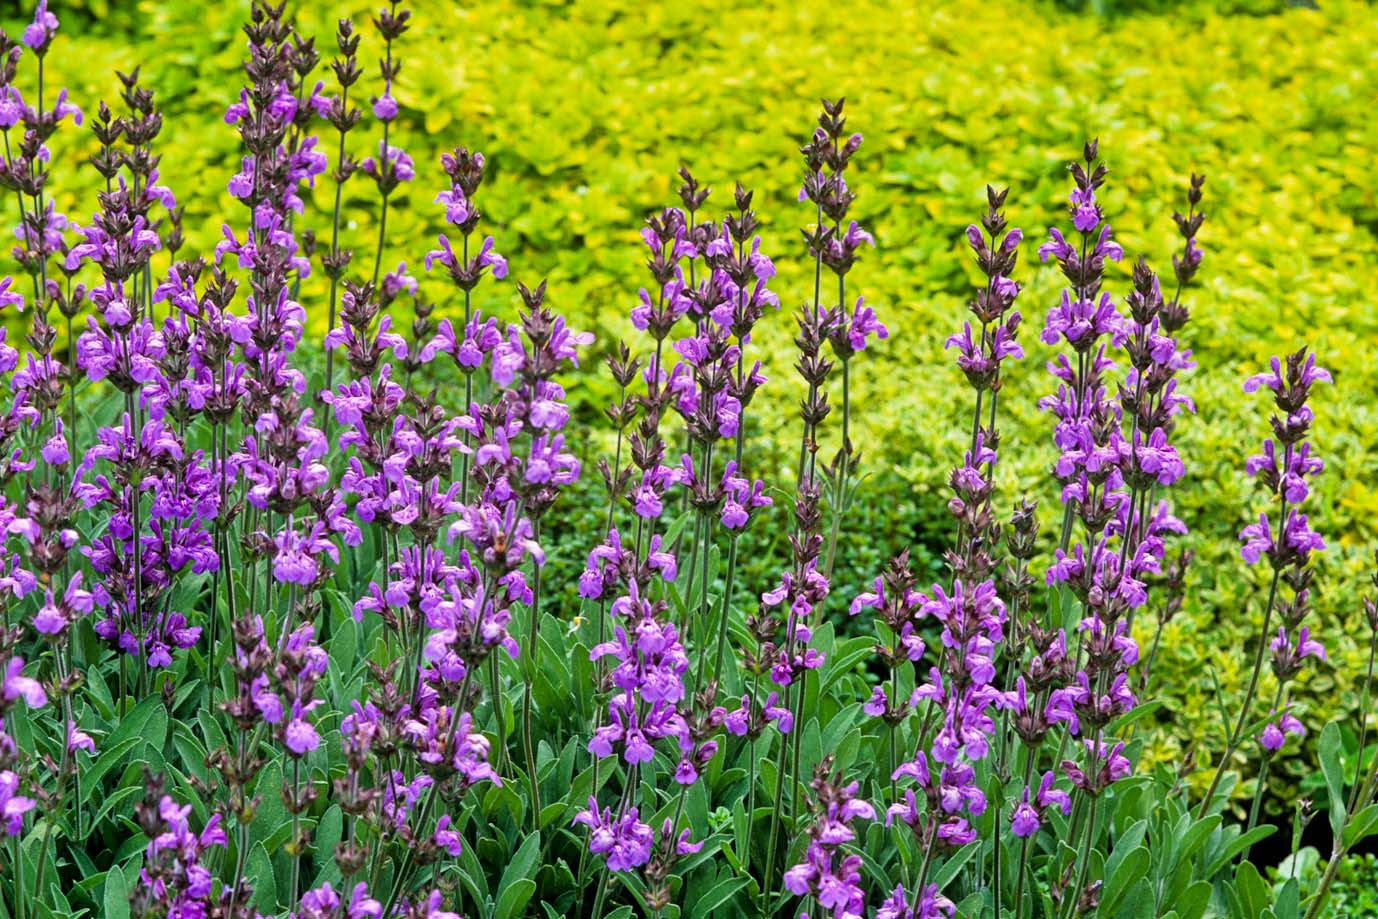
In this next sequence from Ravenhill Herb Farm, I remember how I was amazed the first time I saw culinary sage in flower.
At first, all I could see was the herb garden itself but I realized what was exciting me was the massing of purple flowers of the sage against the chartreuse foliage of the golden oregano behind it.
Often, the better photo is made by moving in more closely to the subject as you strip away elements of a scene that contribute nothing to your story. Be conscious of what you are seeing, and compose your picture—fill your frame—with just those elements that contribute to the whole.
You might shoot lots of pictures as you distill down to the photo. Keep them all for editing later, but don’t spend much time reviewing them in the camera.
Edit them down later to see which ones speak to you, which ones have stories to tell. The scene is changing; keep working it. The light moves. Your freshness wanes.
When you are in the midst of shooting some feature of the garden, working the scene, there may come an “aha” moment when everything clicks and you realize that you captured what you see.
When you are in that moment, take an extra frame (or two), in case the photo card has a blemish. Take a vertical or horizontal image, but don’t get stuck in the moment and keep taking ever so slightly different shots. Move on to new scenes in the garden. Find something fresh while you can, because the garden’s light is changing.
There will also be times when you are working the scene and can’t quite get the photo you know is there…somewhere. If the photo is not clear, if the story seems muddy, move on; don’t get too hung up on any one scene. It can be as difficult to move on when things are not working as it is tempting to stay in one place when it all falls together.
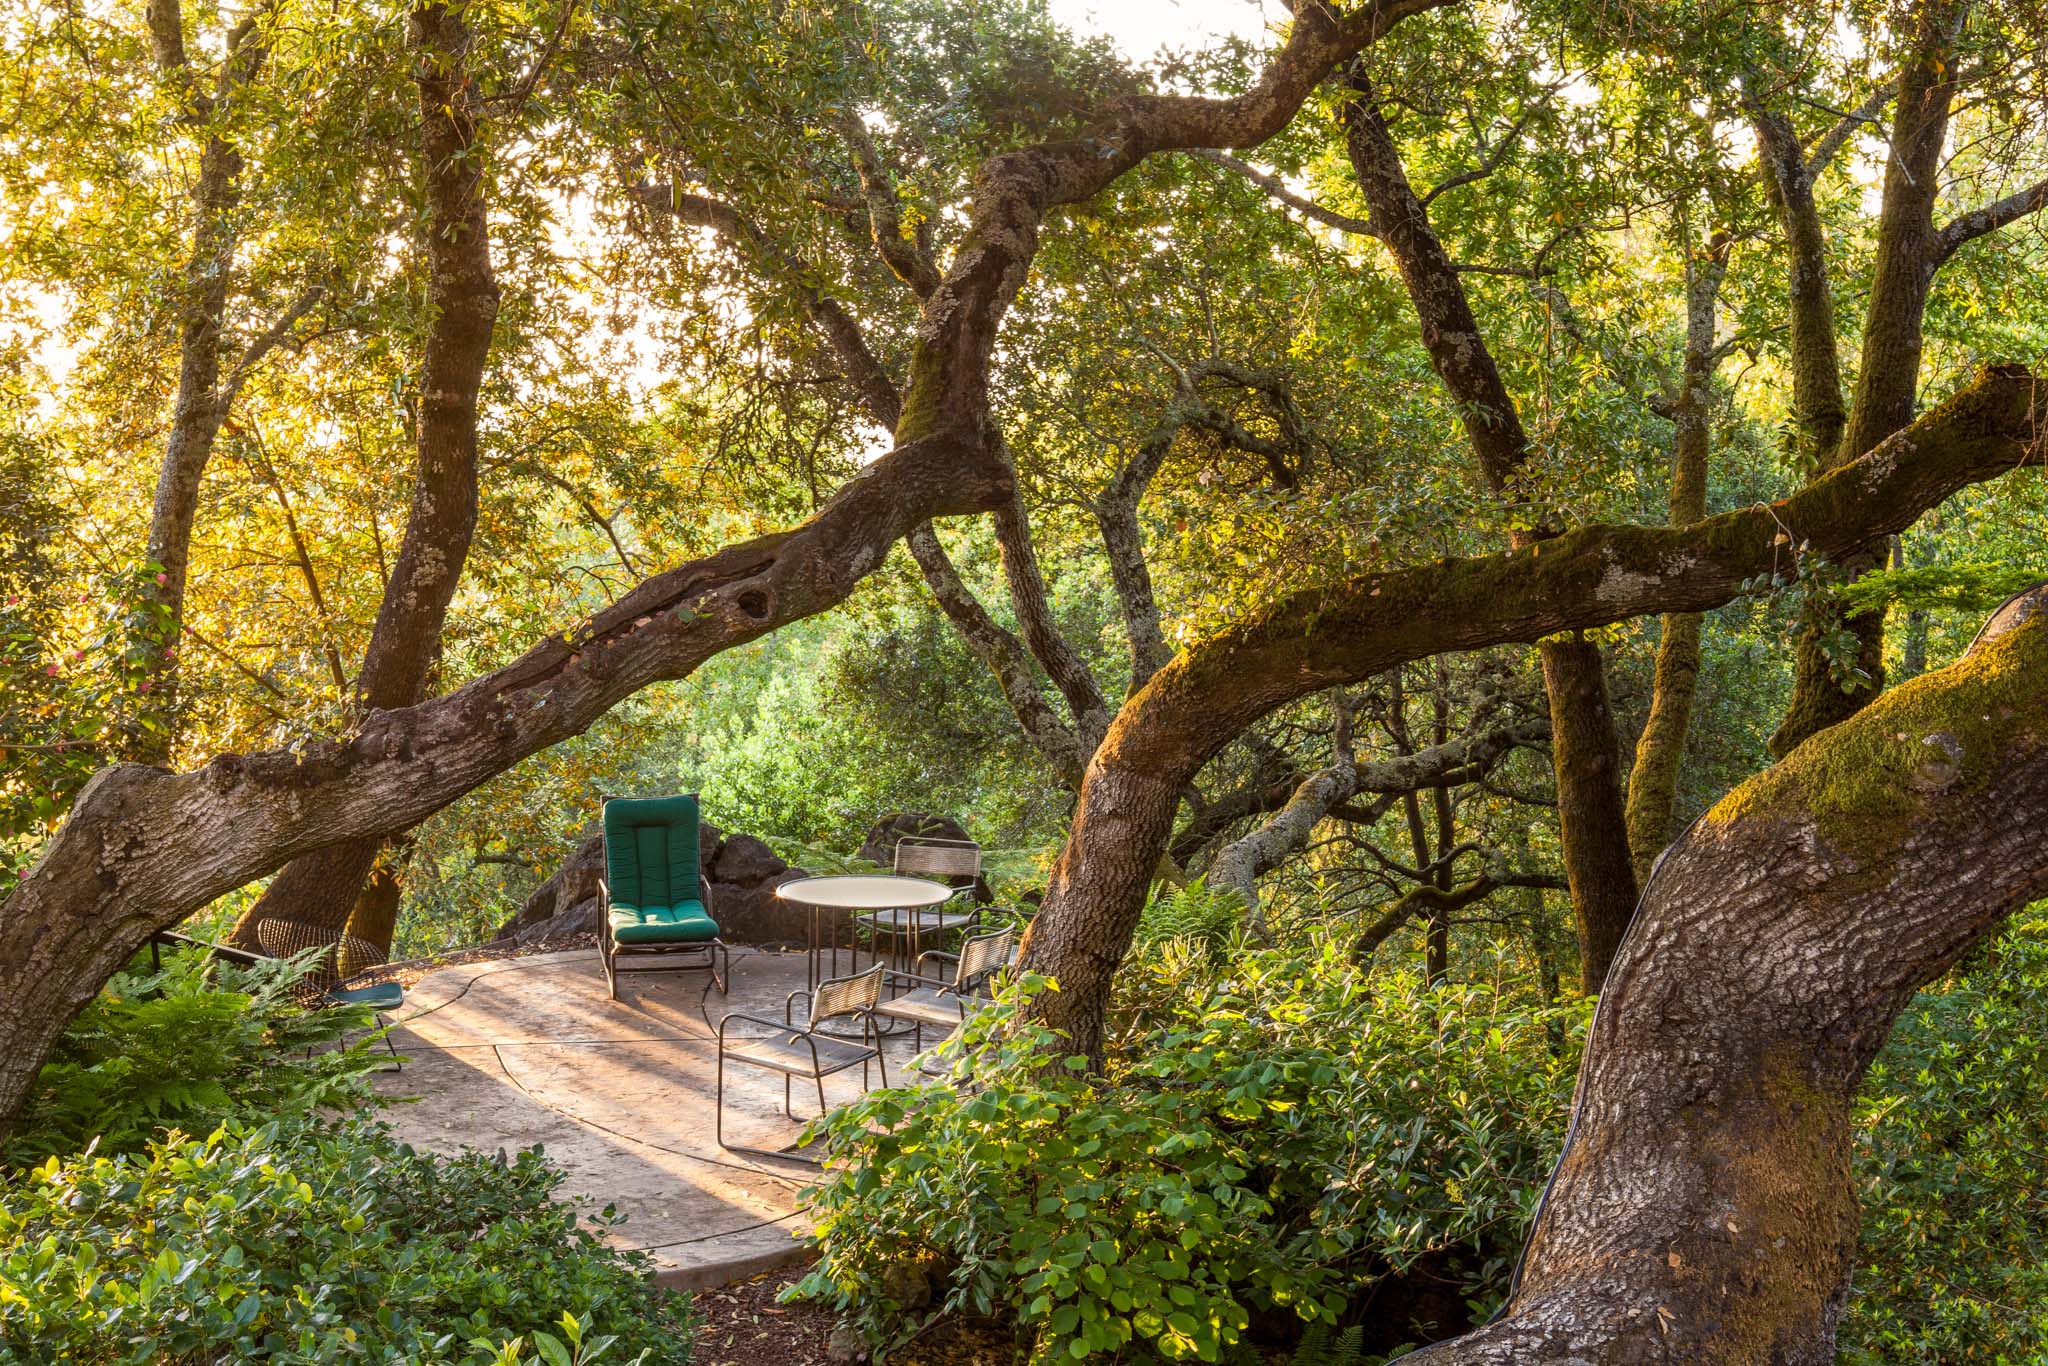
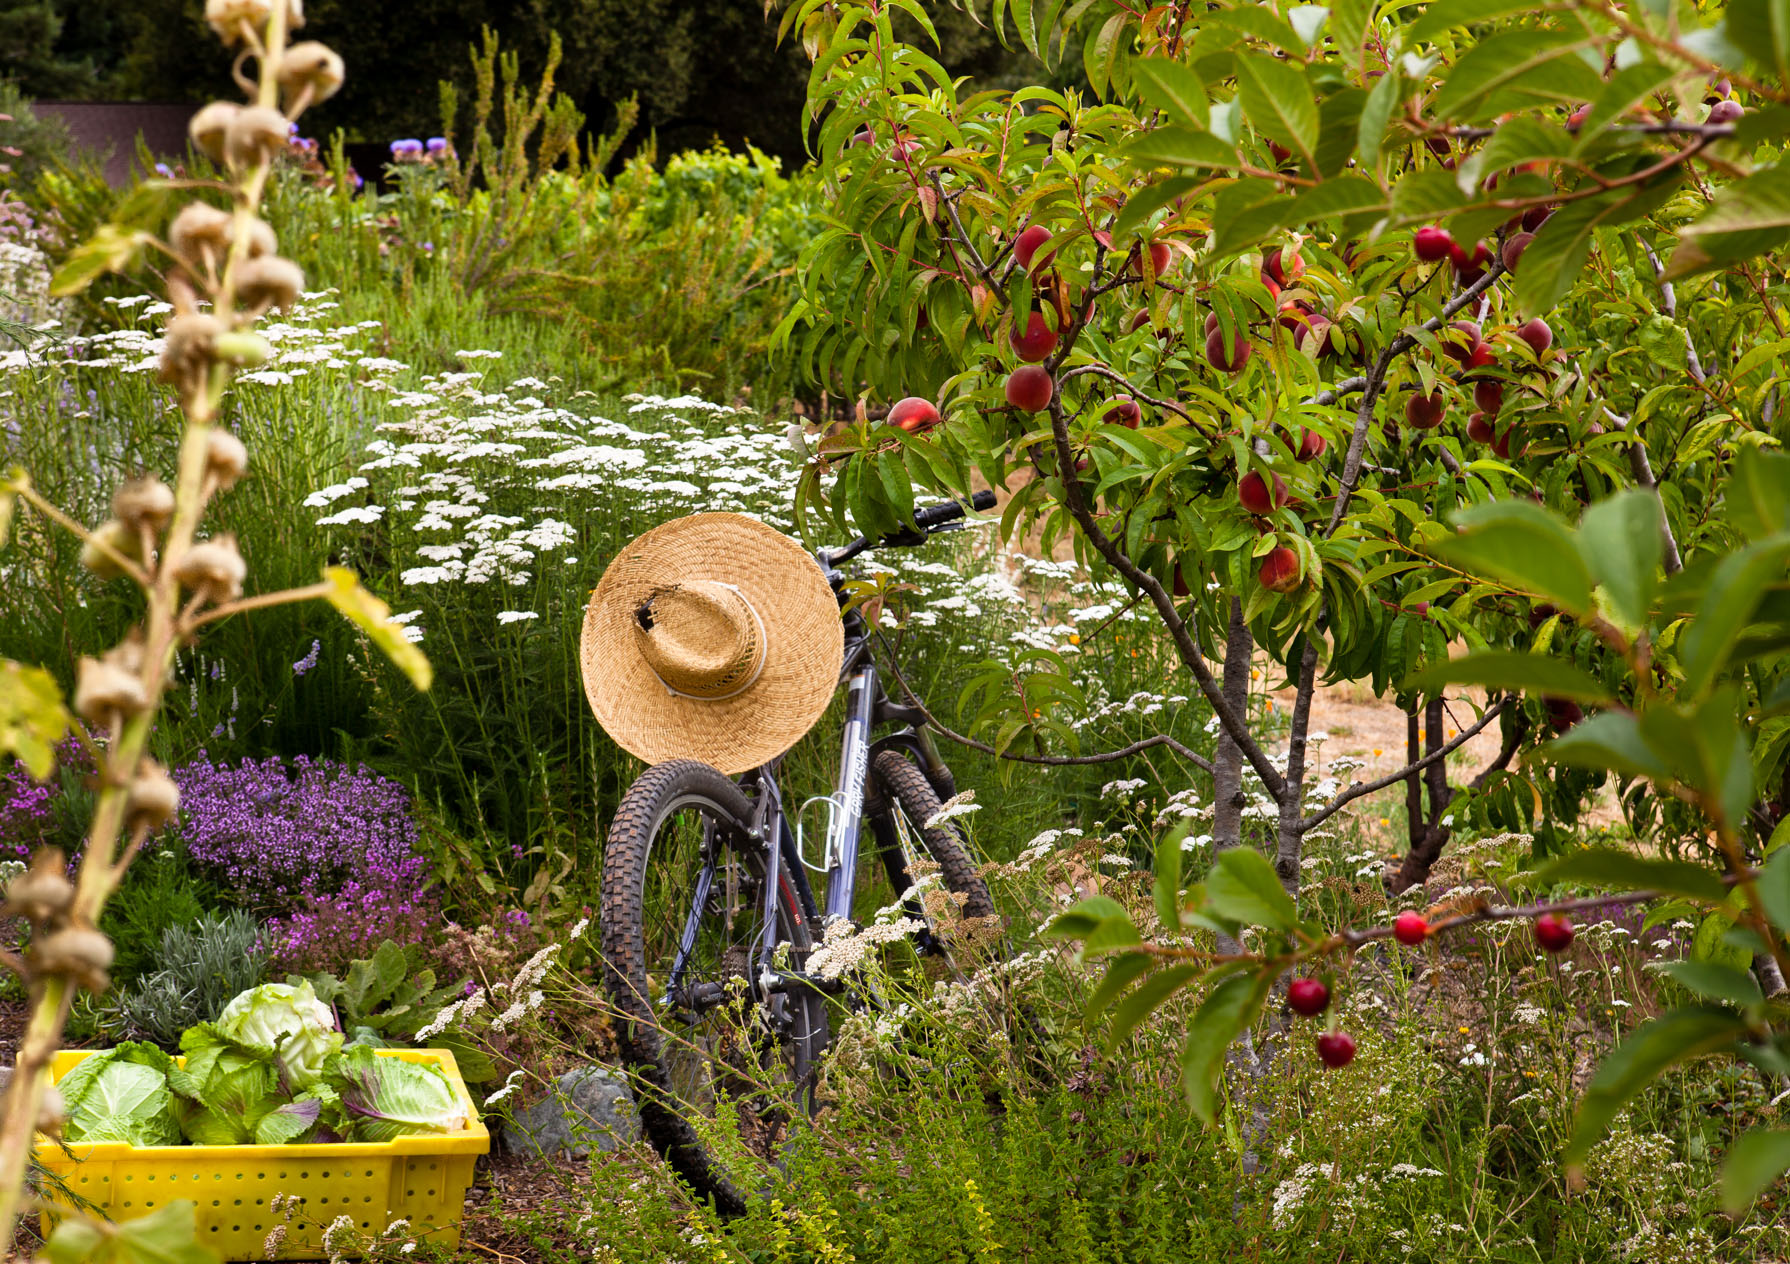
I had spent a good deal of time and many frames trying to get the perfect shot of the vegetable garden at Lynmar Winery, when I felt it was time to move on to another area. As I walked away, nearly stumbling on this gardener’s bike, I saw a new story.
Be open to the story you find, not just the one you think you are looking for.
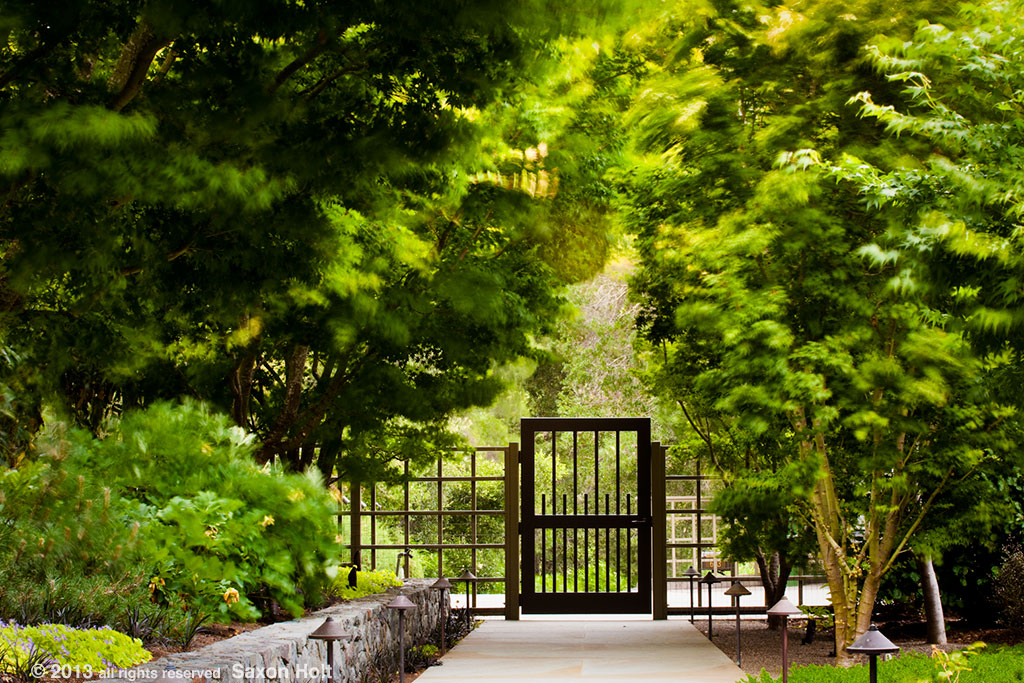
I was once commissioned to photograph a new gate and entry path for the landscape architect Robyn Sherrill. The story is not simply the gate but the wider context of the landscape and the Japanese maple trees.
The real story on the day of the shoot was the wind, which was blowing like mad. The gate became stronger because the trees were moving, and it was not. A tighter shot of just the gate would not have told the same story.
Let your camera become an extension of your eyes and let it sense what you feel. Be conscious of what it is that you are seeing, and find a way to get that “it” to fill your frame. The final story will often be a series of photos, a series of vignettes, but each one should be distilled down to its own essence.
It should speak for itself and make the viewer linger, looking for the story.
Nice composition (Lesson 1). Nice balance of color (Lesson 2) and light (Lesson 3). Nice mood (Lesson 4). A little provocation (Lesson 5). A bit of a story (Lesson 6). End of Section One.
The next Section, “Think Like a Camera,” will help you compose the frame around your story. Lessons in Framing (2.1), Focal Points (2.2), Leading Lines (2.3), Point of View (2.4), Space and Shape (2.5), and Details and Vignettes (2.6) will give you specific techniques that will help your viewer see what you see.
Beginning with “Think Like A Camera” all lessons in the Workshop will now be delivered every two weeks. The next lessons are designed to give you more specific ideas to work on and I hope you will make time to go practice what you learn between the lessons. But don’t forget there are also stories coming every other week in the Plants Celebrated section of the Learning Center.
Additional posts for Telling a Story. Lesson tag 1.6
”Wending and Wind”. One story leads to another
“Looking for Photos” – Story of finding daffodil in my garden




Leave A Comment