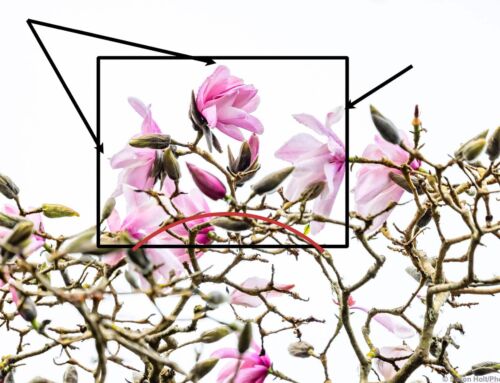
One of the fun things I can do with on-line teaching is to easily illustrate a before and after technique.
I noticed in critique sessions of the hands-on workshops that students really like seeing how a photo can be enhanced and corrected in the computer work.
Before and After Slider
It’s also very fun to show how a photo can be enhanced with filters such as the one of Quaking Aspen at East Bay Regional Parks Botanic Garden in Berkeley. This is part of a new article in the Learning Center on Winter Trees. By overlaying the two images the differences become much more obvious.
Sometimes the affects are so subtle that they are unnoticeable in the small size of a computer monitor. Indeed without the comparison, I bet some would not realize the aspen grove was heavily manipulated.

I use filters from Topaz Labs which have nearly unlimited adjustment and controls. For instance, I am just learning how to use the WatercolorIV filter in their Impressions group of filters.
The filter comes with presets as a starting point but have a generic look to them, not suited to garden photography. So I get to play, starting with changing the Brush Stroke, then playing one adjustment off another.
In the Learning Center section called Plants Illustrated, I go into a more detail on some of the photos that end up in the Store as prints and notecards. It’s a new world for me and easy to get lost in the refinement and various states of each image.
Follow along as I learn …. and move on…..
Without further ado – Aspen Grove and Green Lawn is in the Store too.


I hope I can share this post ?